RP2040 树莓派 Pico
大约 1 分钟
本文将演示如何为合宙RP2040开发板进行配置与上手。
安装开发板
在开发板管理器中搜索Pico
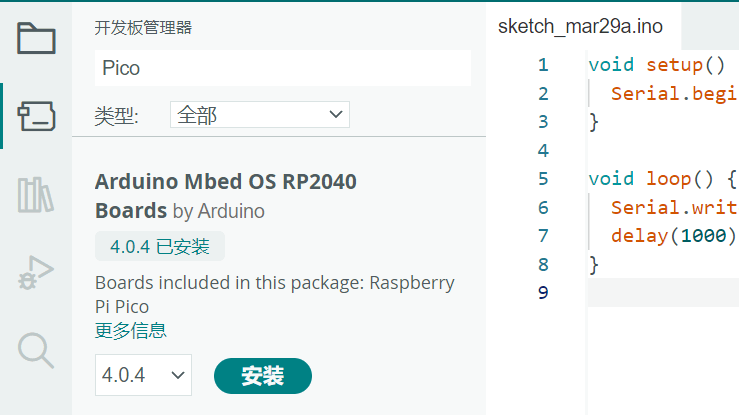
安装Arduino Mbed OS RP2040 Boards最新版即可
提示
安装过程需要安装多个工具链,可能会稍慢,请耐心等待
中途会安装驱动,请全部点击安装
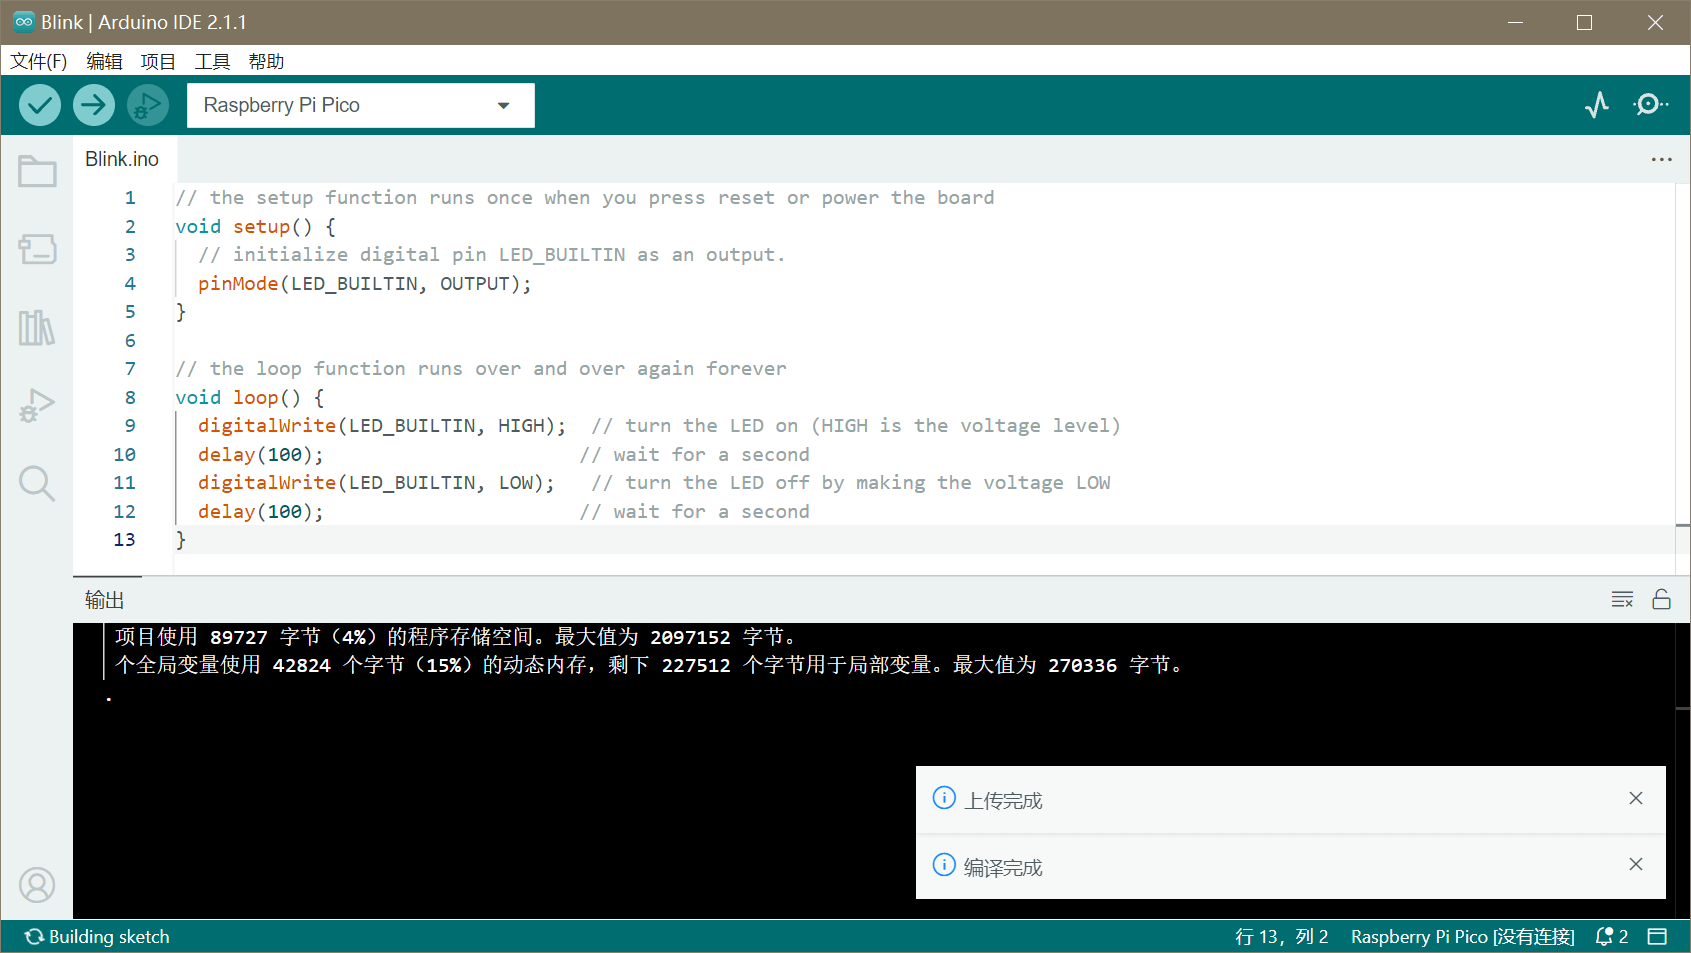
选择开发板
开发板选择选择其他开发板和端口,在开发板中搜索pico,选择Raspberry Pi Pico:

添加代码
在主函数中添加一些测试代码:
// the setup function runs once when you press reset or power the board
void setup() {
  // initialize digital pin LED_BUILTIN as an output.
  pinMode(LED_BUILTIN, OUTPUT);
}

// the loop function runs over and over again forever
void loop() {
  digitalWrite(LED_BUILTIN, HIGH);  // turn the LED on (HIGH is the voltage level)
  delay(100);                      // wait for a second
  digitalWrite(LED_BUILTIN, LOW);   // turn the LED off by making the voltage LOW
  delay(100);                      // wait for a second
}
编译下载
将开发板的 USB 连接移除,按住开发板上的按键,再重新插入 USB 接口。
此时电脑会识别到一个名为RPI-RP2的U盘设备,说明进入烧录模式成功。
点击上传按钮,等待编译并上传测试代码
查看效果
如果代码编译上传正常,那么可观察到LED在十分快速地闪烁。
接下来可以继续查看应用示例,测试更多的例子