LCD彩屏 ST7735
大约 3 分钟
简介
本章介绍使用Air001开发板驱动ST7735。
提示
ST7735是一款具有SPI接口的彩色TFT液晶显示驱动芯片。
硬件准备
按☁️ Air001开发板入门,将
Air001和DAPLink调试器使用排针排母连接。将
ST7735模块与Air001开发板,按如下表格进行相连:
| ST7735 | Air001 |
|---|---|
| GND | GND |
| VCC | 3.3V |
| CLK | PA_5 |
| MOSI(DAT) | PA_7 |
| RES | PA_6 |
| DC | PB_1 |
| CS | PA_4 |
| BL | PB_0 |
软件部分
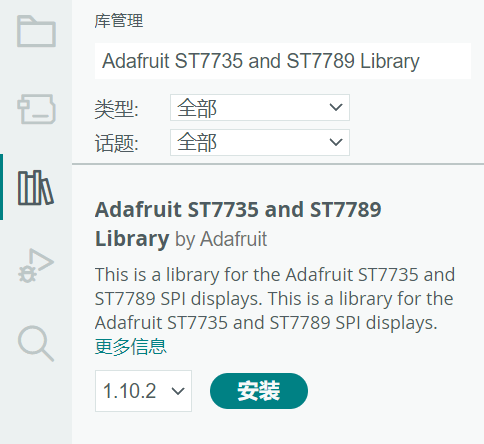
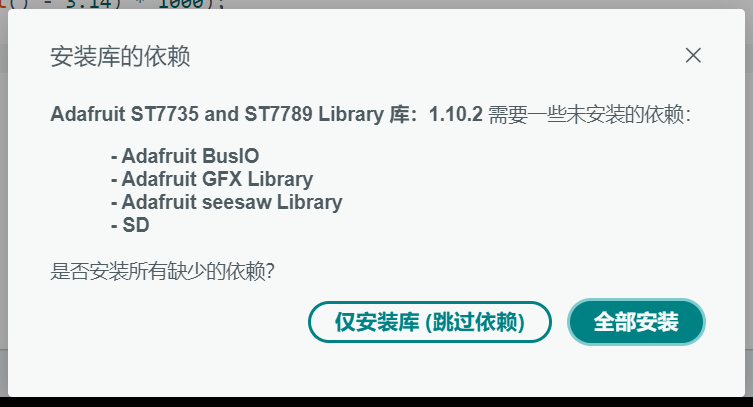
在Arduino的库管理中搜索并安装Adafruit ST7735 and ST7789 Library,并选择全部安装以安装所需依赖。
打开Arduino管理库,进行安装
首先引用这些库,并定义需要用的参数:
#include <Adafruit_GFX.h>
#include <Adafruit_ST7735.h>
#include <SPI.h>

#define TFT_CS PA_4
#define TFT_RST PA_6
#define TFT_DC PB_1
#define TFT_MOSI PA_7
#define TFT_SCLK PA_5
#define SerialDebugging true

Adafruit_ST7735 tft = Adafruit_ST7735(TFT_CS, TFT_DC, TFT_MOSI, TFT_SCLK, TFT_RST);

const uint8_t Button_pin = PB_6;
- 开头我们用调用下载的
Adafruit_GFX.h、Adafruit_ST7735.h包以及Arduino自带的SPI.h包。 - 依据Air001的接线,定义相关引脚。
- 实例化同时初始化
Adafruit_ST7735的对象tft,后续仅需调用tft即可驱动ST7735。 - 将Air001开发板上的
BOOT按钮对应的引脚PB_6定义为屏幕响应按键。
const uint16_t Display_Color_Black = 0x0000; //黑
const uint16_t Display_Color_Blue = 0x001F;  //蓝

uint16_t Display_Text_Color = Display_Color_Black;
uint16_t Display_Backround_Color = Display_Color_Blue;
- 我们用
cosnt定义颜色并防止其被更改。 - 定义文本颜色和背景颜色。
提示
可以使用(包括但不限于)如下代码定义其他颜色:
const uint16_t Display_Color_Red = 0xF800;      //红
const uint16_t Display_Color_Cyan = 0x07FF;     //青
const uint16_t Display_Color_Green = 0x07E0;    //绿
const uint16_t Display_Color_White = 0xFFFF;    //白
const uint16_t Display_Color_Yellow = 0xFFE0;   //黄
const uint16_t Display_Color_Magenta = 0xF81F;  //粉
这里的颜色格式为RGB565,每个像素用16比特位表示,占2个字节,RGB分量分别使用5位、6位、5位。
const size_t MaxString = 32;
char oldTimeString[MaxString]           = { 0 };
- 定义字符串缓冲区大小。
- 初始空的字符串,用于显示。
我们在setup()函数中添加如下代码进行初始化操作。
void setup() {
    //SerialDebugging在开头被定义为TRUE,这片宏定义区域生效
    #if (SerialDebugging)
    //初始化串口,用于输出日志
    Serial.begin(115200);
    while (!Serial);
    Serial.println();
    #endif
    delay(250);
    //初始化屏幕
    tft.initR(INITR_BLACKTAB);
    //初始化字体
    tft.setFont();
    //用蓝色填充屏幕
    tft.fillScreen(Display_Backround_Color);
    //设定文字颜色
    tft.setTextColor(Display_Text_Color);
    //设定文字大小
    tft.setTextSize(2);
}
定义displayUpTime函数,内容如下:
void displayUpTime() {
    unsigned long upSeconds = millis() / 1000;
    unsigned long days = upSeconds / 86400;
    upSeconds = upSeconds % 86400;
    unsigned long hours = upSeconds / 3600;
    upSeconds = upSeconds % 3600;
    unsigned long minutes = upSeconds / 60;
    upSeconds = upSeconds % 60;
    char newTimeString[MaxString] = { 0 };
    sprintf(
        newTimeString,
        "%lu %02lu:%02lu:%02lu",
        days, hours, minutes, upSeconds
    );
    if (strcmp(newTimeString,oldTimeString) != 0) {
        tft.setCursor(0,0);
        tft.setTextColor(Display_Backround_Color);
        tft.print(oldTimeString);
        tft.setCursor(0,0);
        tft.setTextColor(Display_Text_Color);
        tft.print(newTimeString);
        strcpy(oldTimeString,newTimeString);
    }
}
- 计算显示的天数、小时、分钟、秒钟,将其显示并刷新(每次刷新消耗约2.5s)。
最后在loop()函数中添加代码。
void loop() {
    //显示当前的时间
    displayUpTime();
    delay(100);
}
- 调用函数
displayUpTime输出显示当前时间。 - 延时
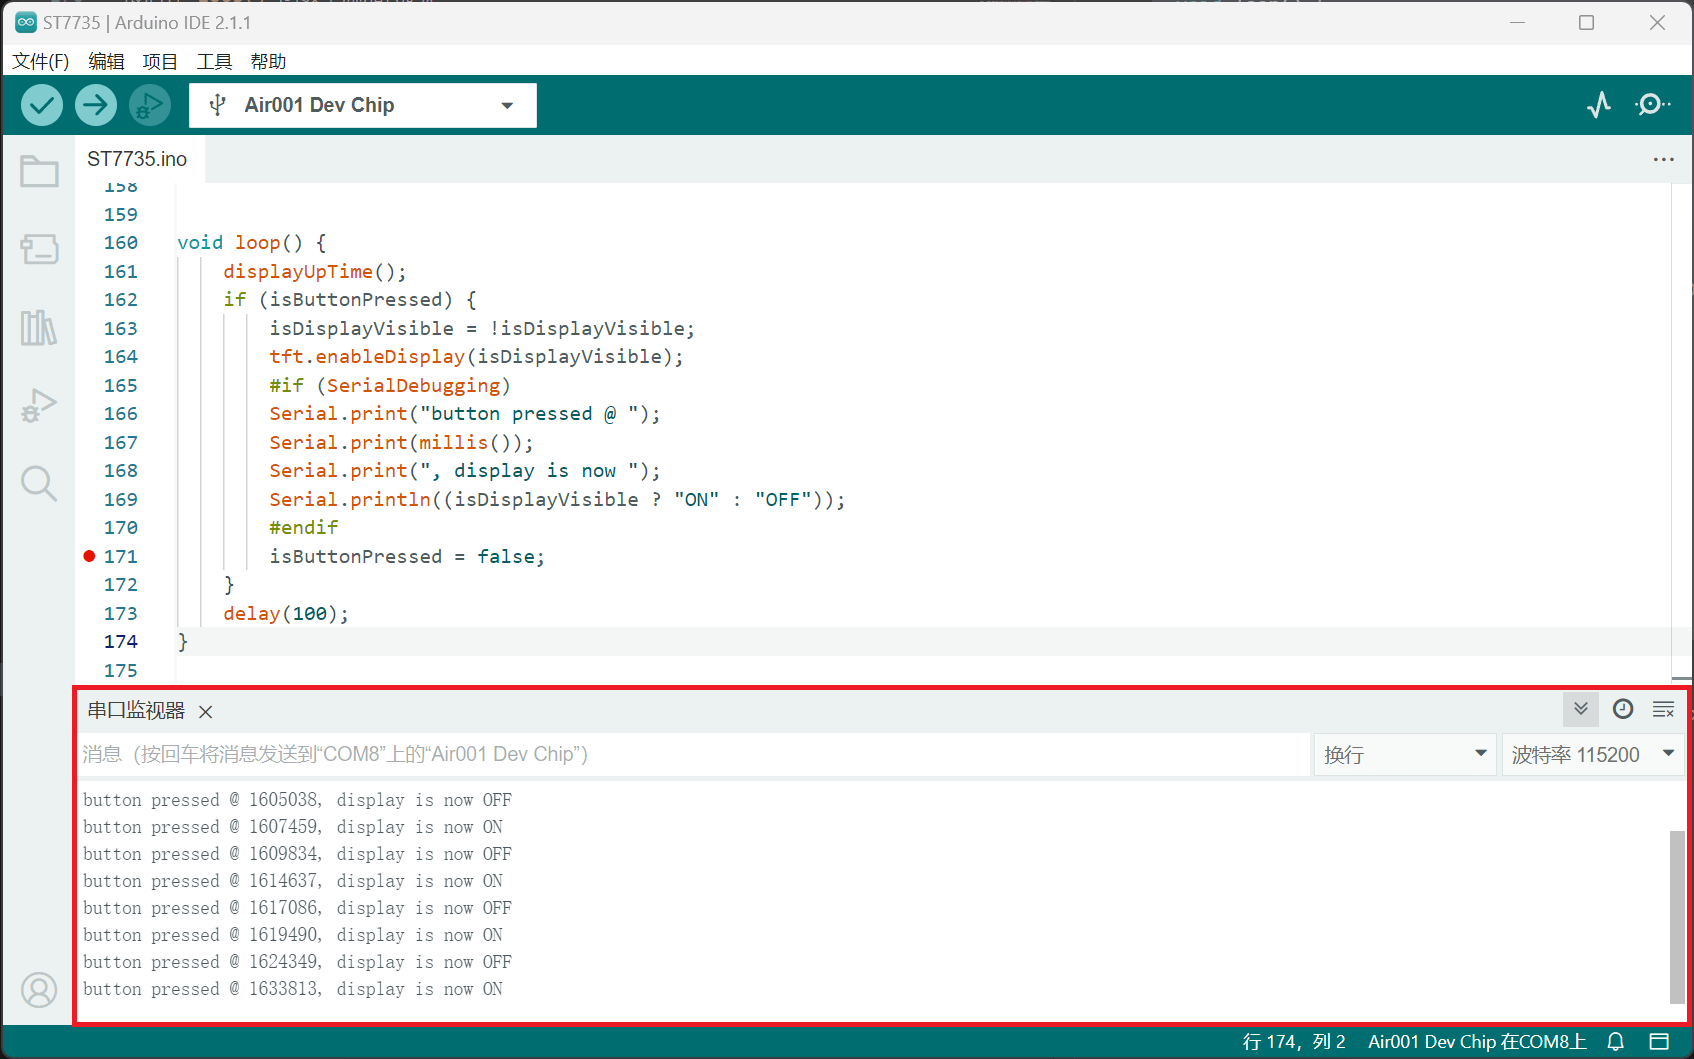
输出结果
屏幕底色为蓝色,在最上方显示一行黑色的显示时长:

同时在串口监视器中将波特率调为115200可观察到如下字样: